
Track installation guide
Permanent LED Track Installation
Measure, cut, turn corners, conceal transition wires, and finish Bright Home Lights aluminum track without damaging the puck lights or wiring.
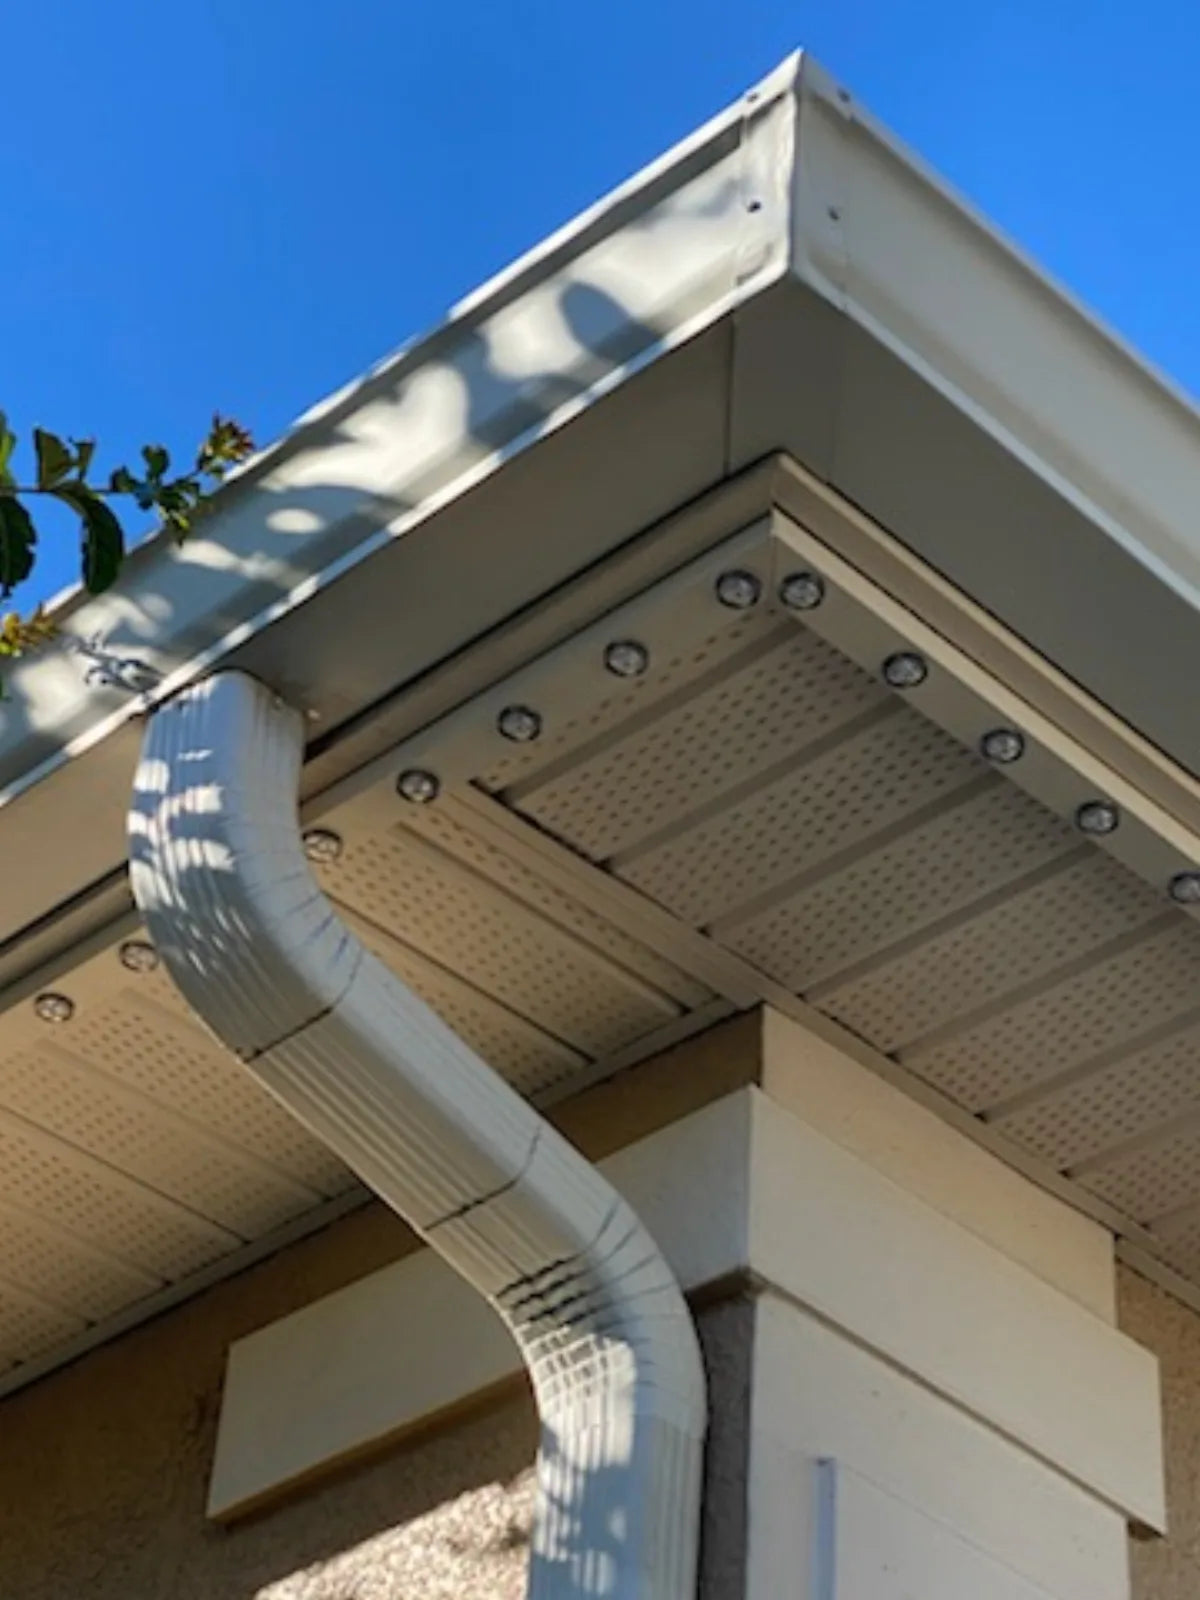
Start with fit
Track and puck dimensions
Check these measurements before ordering or cutting. They determine soffit clearance, joint placement, corner treatment, and the room available to conceal wiring.
Choose before you cut
Three clean ways to handle a corner
The right method depends on the angle, the visibility of the joint, and whether the light string continues through the turn.
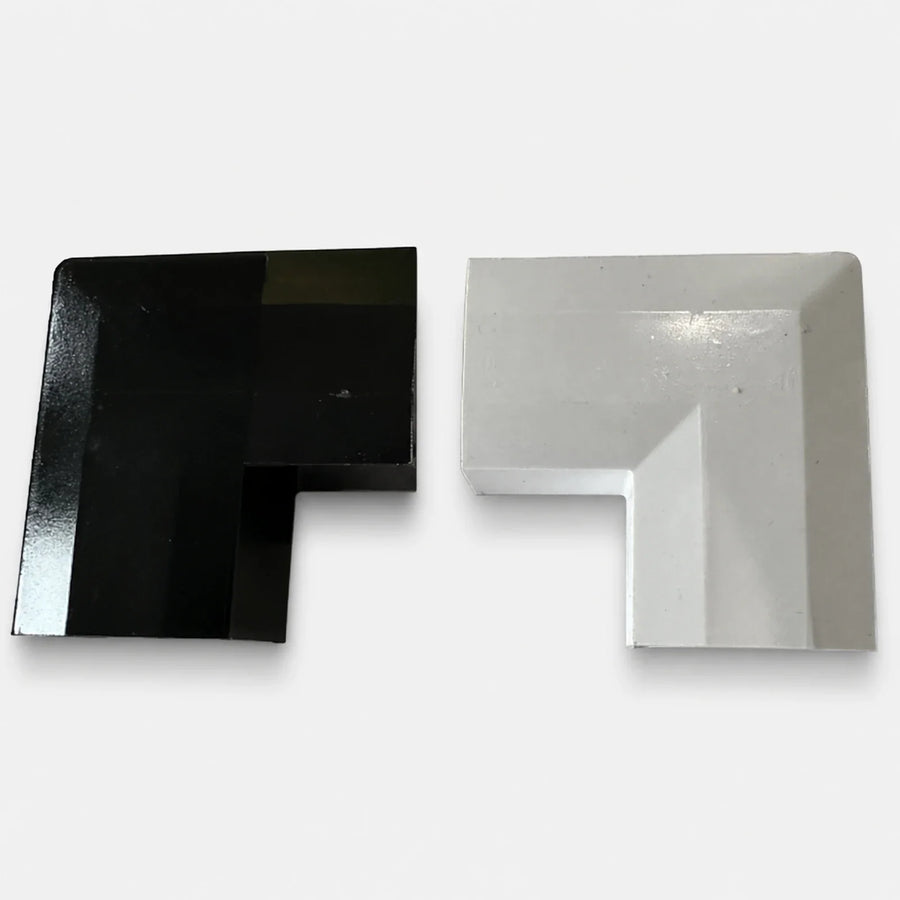
Use a corner connector
Best for a clean 90-degree turn. Square-cut both sections, confirm the connector color, and balance puck spacing across the joint.
Make matching angled cuts
Use matching miter cuts for a custom angle. Measure the real corner, test on scrap, and deburr both edges before assembly.
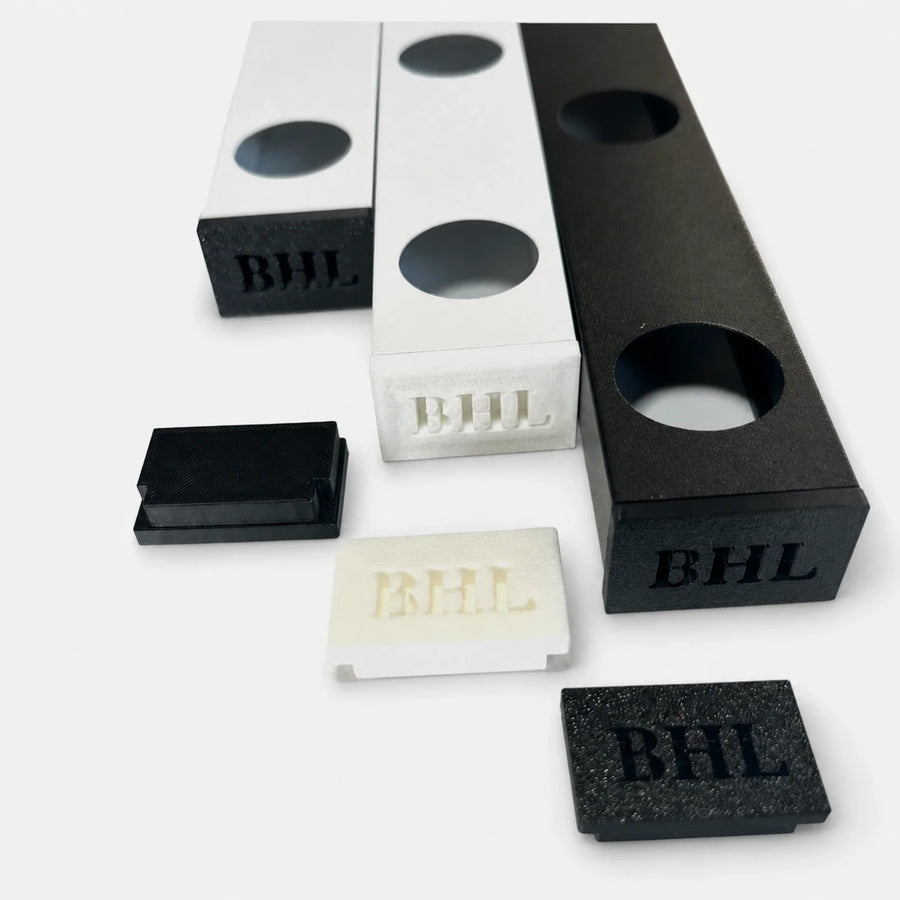
End and restart the track
Stop one run, route cable through the transition, and restart after the corner. Use an open cap wherever the cable exits.
Installer technique
Reverse a short track section to conceal transition wires
For height changes, trim crossings, or roofline restarts, a short reversed track piece can provide a cleaner cable path.
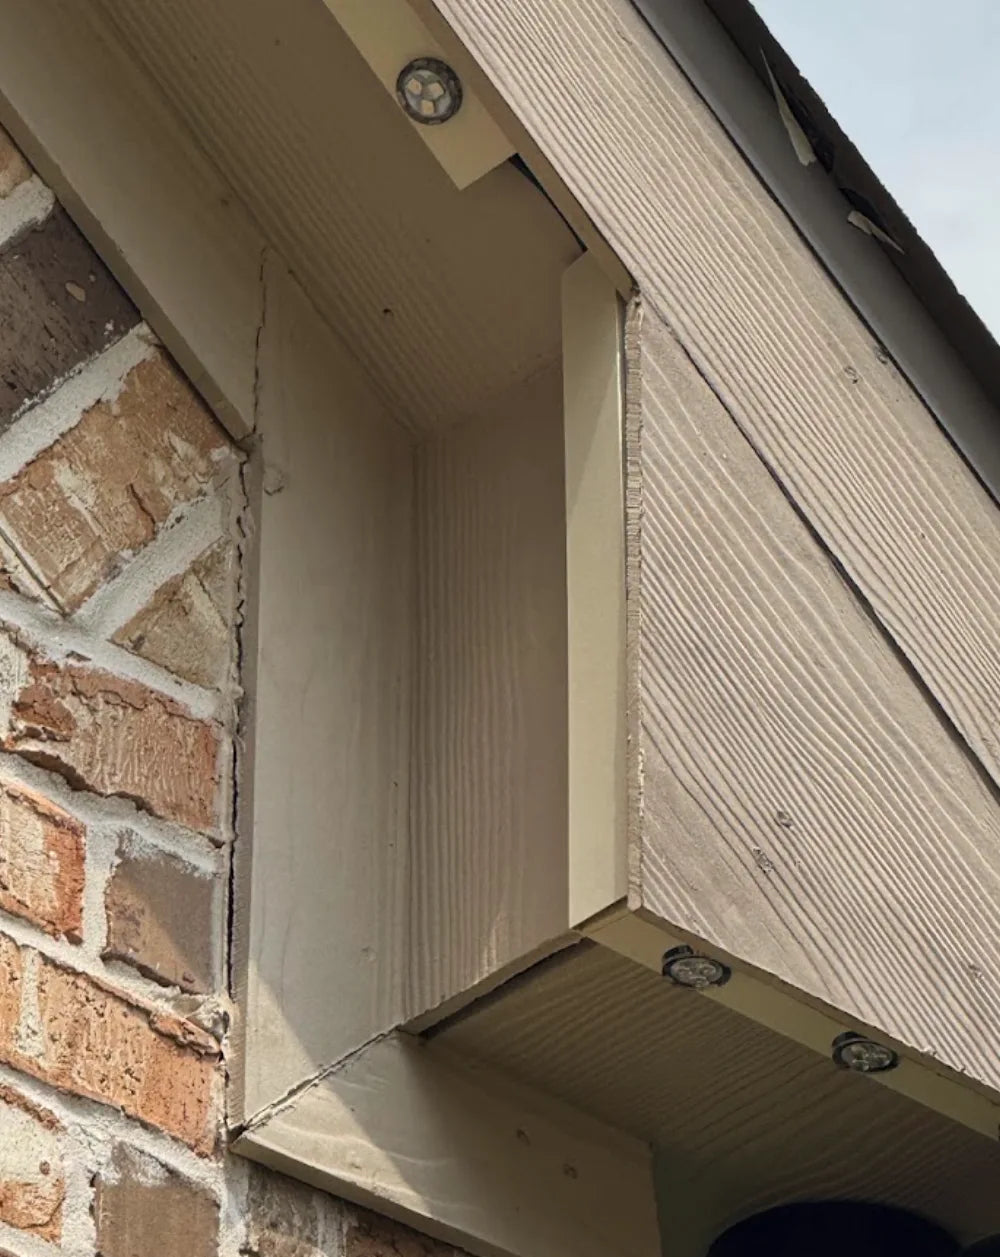
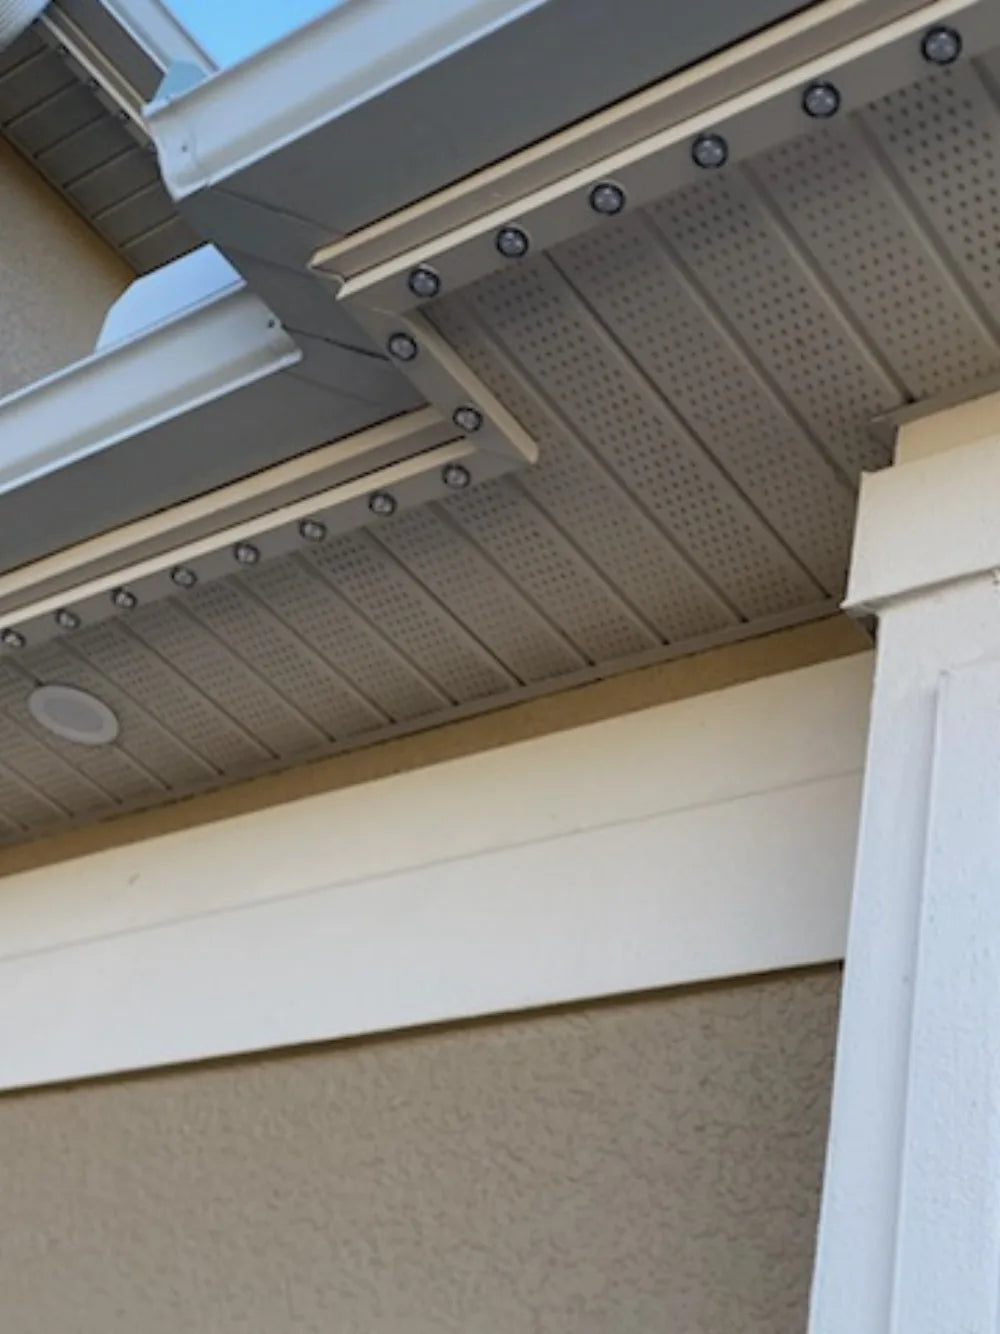
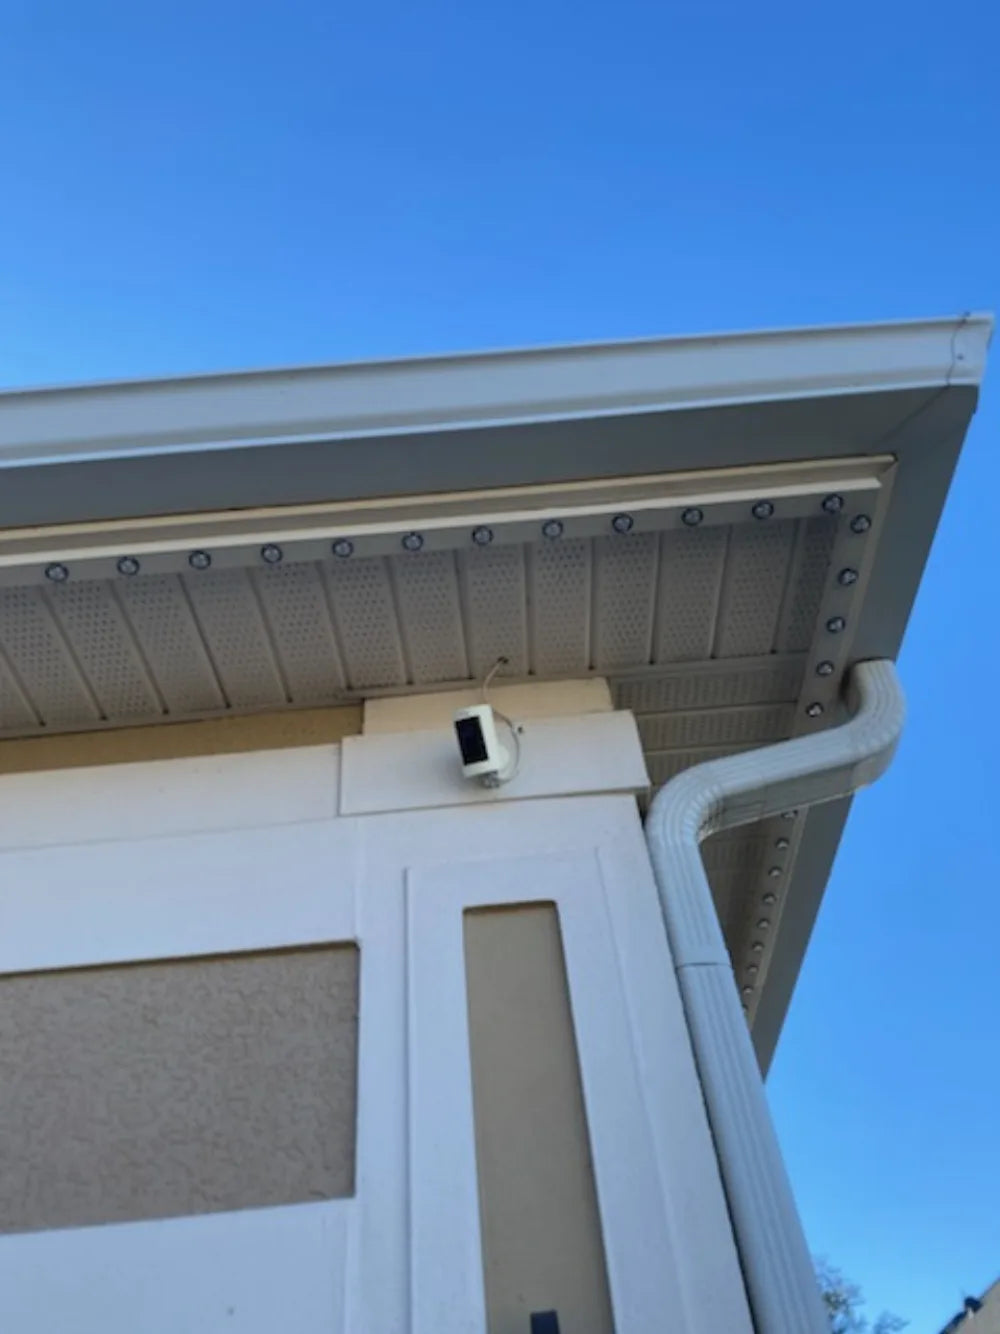
What reversing the track means
Install a short, unlighted piece with its open channel toward the structure. It acts as a matching aluminum wire chase between normal lighted sections.
Where it helps
Use it for vertical drops, changes in soffit height, offsets around trim, and short transitions where extension cable would otherwise remain visible.
Protect the cable
Use an open cap at each cable entry or exit, deburr every cut, avoid tight bends, and keep mounting screws clear of the hidden wire path.
Prepare before climbing
Tools for clean, repeatable track work
Complete the layout, cut plan, cable labels, and bench testing at ground level before mounting.
Safe cutting sequence
Measure twice. Clear the cut zone. Deburr once.
Prepare manageable sections on the ground. Cutting overhead increases the chance of an uneven cut, falling debris, or wire damage.
Disconnect all power
Unplug the power supply. Never cut, strip, reconnect, or inspect an energized system.
Mark the finished length
Dry-fit the backing and face, account for corner treatment, and mark a square line.
Remove lights and wiring
Move every puck and conductor away from the cut zone. Never let the blade contact the string.
Cut the aluminum track
Use a fine-tooth saw or suitable aluminum-rated blade and wear eye protection.
Deburr and clean
Remove sharp edges and every metal shaving before reinstalling wiring or closing the track.
Test the fit before fastening
Check alignment, cable clearance, puck spacing, and cap fit, then mount the backing.
Finish the run
Open versus closed end caps
Choose the cap based on whether wiring must pass through the finished track end.
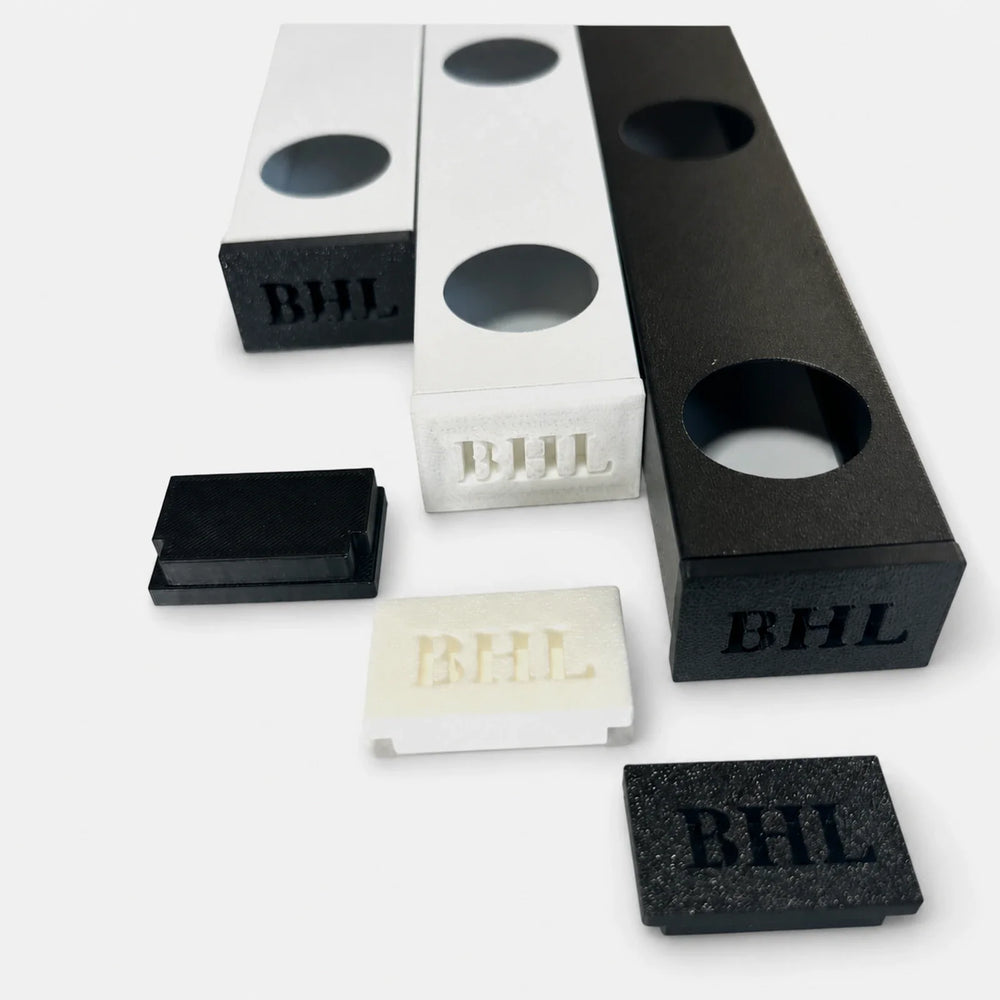
Open end cap
Use where puck or extension cable exits. Orient the opening so the wire is not pinched.
Closed end cap
Use at a finished termination where no cable passes through the track end.
Match the finish
Choose the same standard track color. Confirm custom-color cap requirements before production.
Parts for a clean finish
Shop track installation parts
Use the product pages to confirm current colors, styles, quantities, and pricing.
 Corner connectors
 Open and closed end caps
 Demo track
Common questions
Before the first cut
Can I cut the track to any length?
Yes, after removing pucks and wiring from the cut zone. Leave space for the planned puck layout, joint, and end treatment.
Should I miter every corner?
No. A corner connector is usually easier for a standard 90-degree turn. Use miters for custom angles or fitted joints.
Can cable pass behind the track?
Yes, when clearance allows. Mark the cable path and keep mounting screws away from hidden wiring.
Which end cap do I need?
Use an open cap where cable exits and a closed cap at a finished end without cable pass-through.
Can I cut after inserting the pucks?
Do not. Move the string clear, cut and deburr the aluminum, remove debris, and then complete puck installation.
How do I align joints?
Dry-fit adjacent sections, keep track faces on the same line, and check puck spacing before fastening.