DIY Installation Guide

Permanent LED Lights Installation Guide

Plan the route, mount color-matched track, connect low-voltage wiring, configure the controller, and test every roofline section before final cleanup.

  • Clear installation sequence
  • Power and data checks
  • Mobile-friendly reference

Installation at a glance

From measured roofline to tested system

Use this sequence as the visual overview, then follow the detailed checks below. Every project is different; confirm mounting surfaces, safe access, wiring routes, and power requirements before starting.

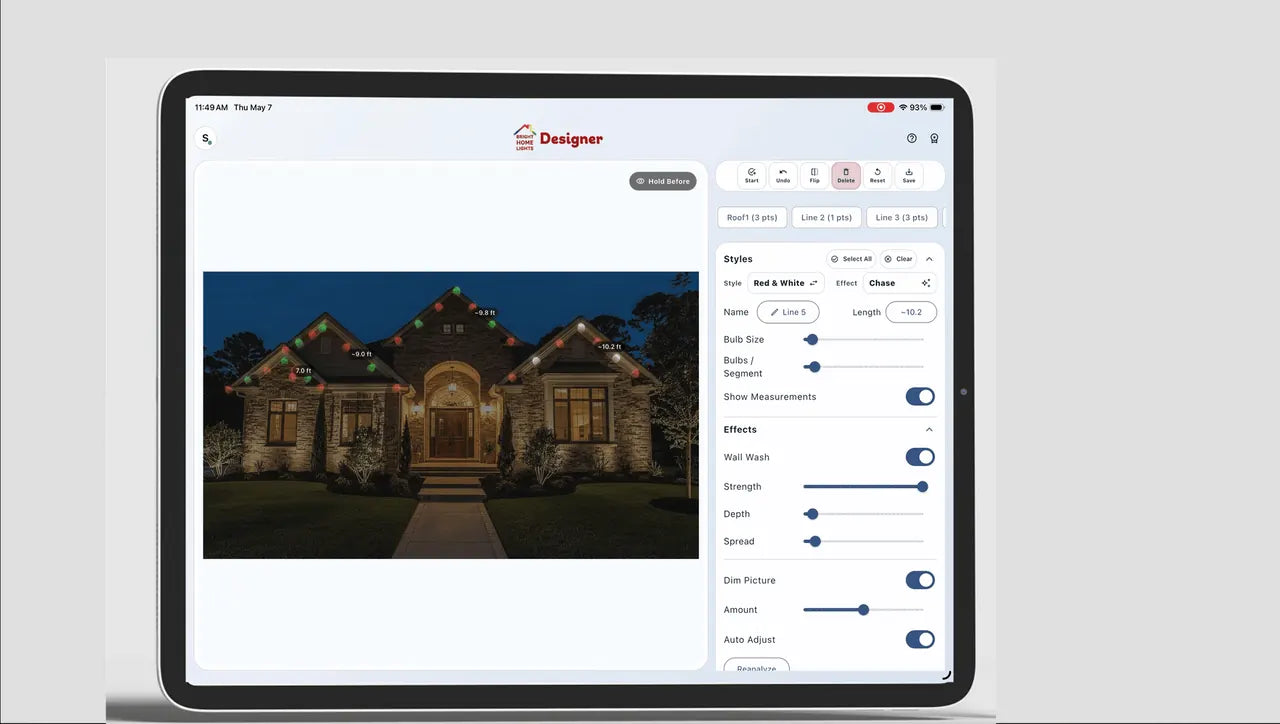
Bright Home Designer showing measured roofline sections on a home photo

Step 1

Plan and measure

Divide the roofline into straight runs, mark corners and gaps, and choose controller and power locations.

Permanent LED puck lights mounted in aluminum track under a soffit

Step 2

Mount the track

Keep the track straight and consistently positioned so each puck casts light evenly on the wall.

Black and white permanent LED track meeting at corner connectors around a 90-degree turn

Step 3

Handle corners and gaps

Stop and restart track cleanly around peaks, corners, downspouts, and sections that should remain unlit.

Actual XConnect male and female pigtails with red, yellow, and black wire leads

Step 4

Route low-voltage wiring

Protect extensions and connections, maintain polarity, and keep non-waterproof splices inside a dry enclosure.
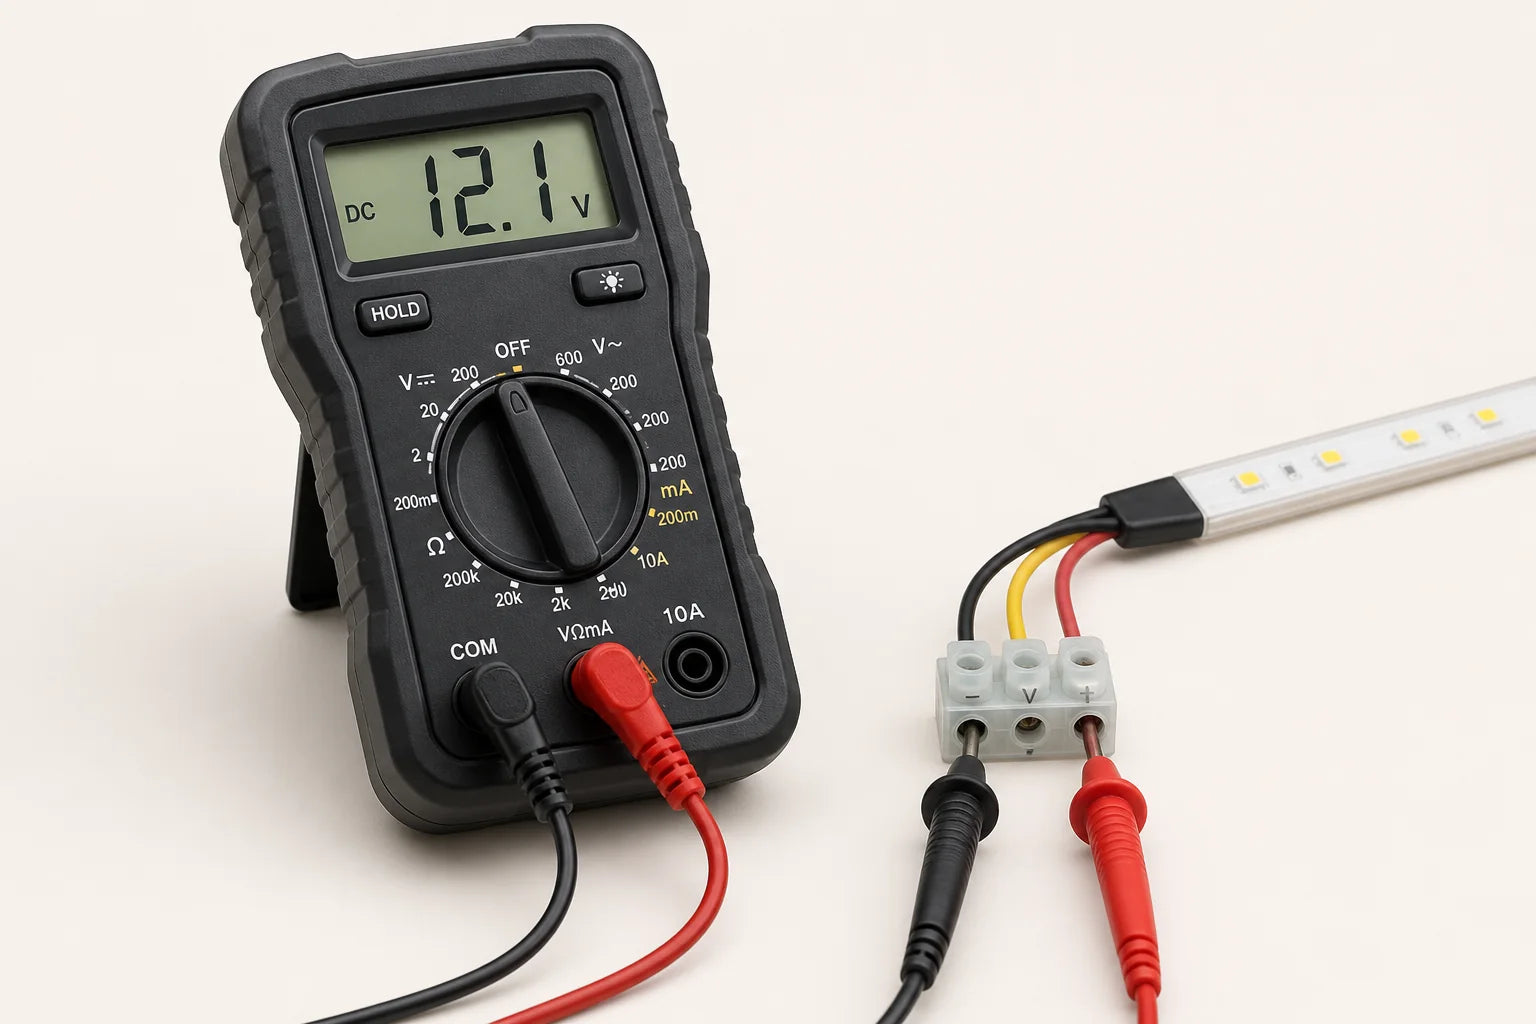
Digital multimeter verifying 12.1 volts on a low-voltage LED lighting connection

Step 5

Connect and verify power

Confirm voltage and polarity before connecting the full light run. Add power injection only where the design requires it.
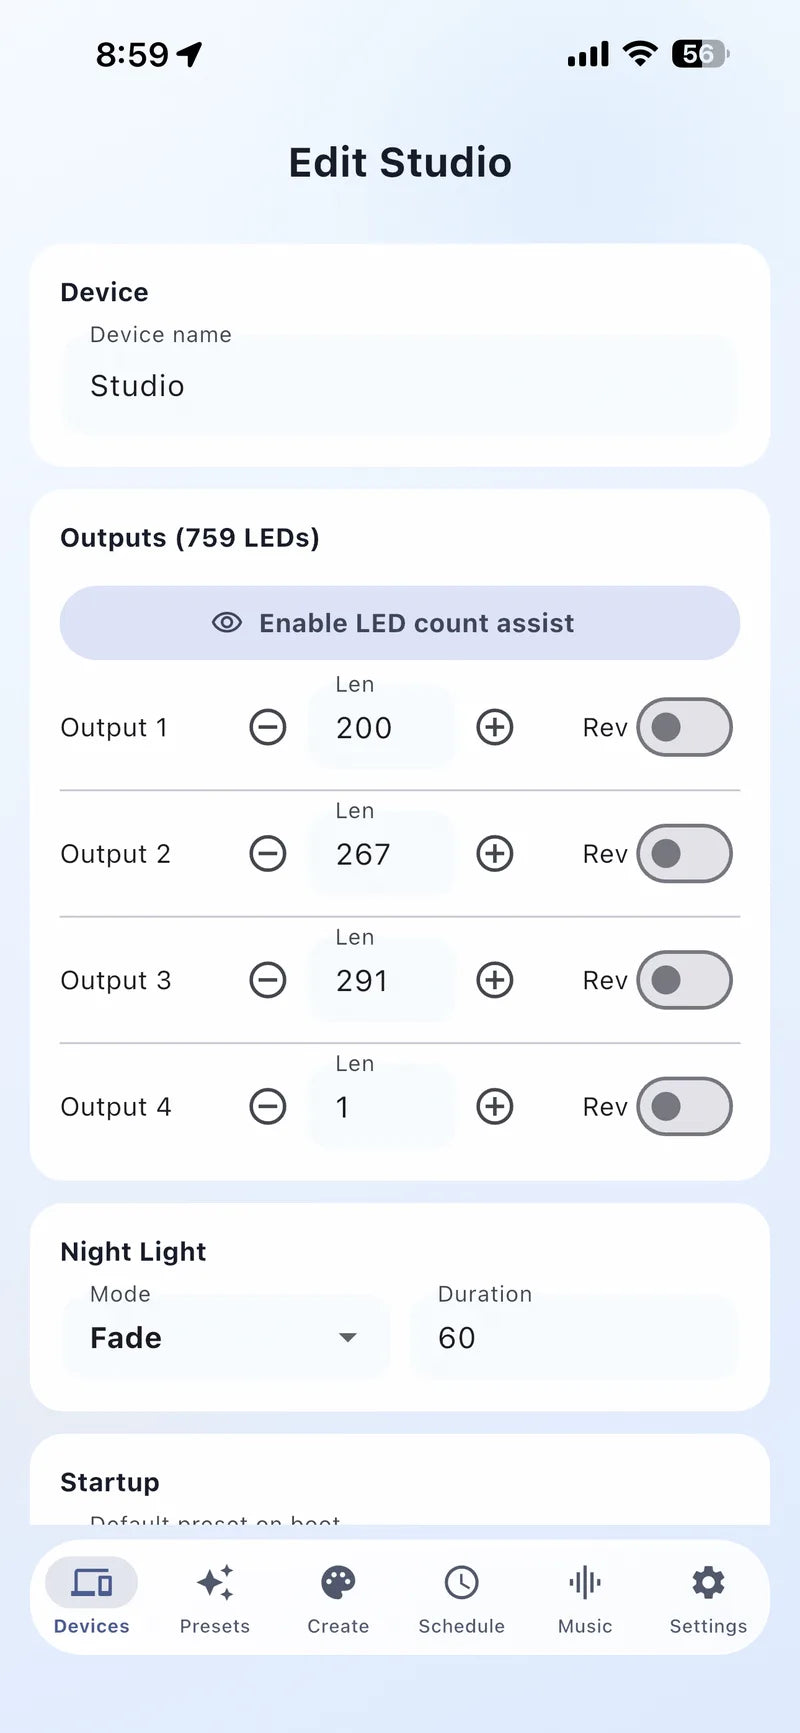
Bright Home app device settings showing LED counts for four controller outputs

Step 6

Configure and test

Set the actual LED count, test solid red, green, blue, and white, then confirm every segment before cleanup.

Field checklist

Three checks before you finish the job

Use these checkpoints to catch layout, wiring, and configuration problems while every connection is still accessible.

Before mounting

  • Measure each straight roofline run and identify gaps.
  • Confirm 12V or 24V components match.
  • Choose controller, power, and injection locations.
  • Ground-test every light section before climbing.

Before applying power

  • Verify positive, negative, and data wiring.
  • Confirm arrows and data direction face away from the controller.
  • Protect splices and keep service points accessible.
  • Check voltage at the beginning and end of longer runs.

Before cleanup and handoff

  • Set LED counts and name each roofline segment.
  • Test solid red, green, blue, daylight or warm white.
  • Save working presets and schedules.
  • Record outputs, injection points, and special routing notes.

Before cleanup

Configure and verify the complete system

Set the actual LED count for every output, create roofline segments, test solid colors and white light, save working presets, and record controller and injection locations for future service.